Home » Without Label » How To Varnish Kitchen Cabinets / Our Exciting Kitchen Makeover: Before and After | Kitchen ... / The process always starts out the same way, even if your cabinets are new and unfinished.
How To Varnish Kitchen Cabinets / Our Exciting Kitchen Makeover: Before and After | Kitchen ... / The process always starts out the same way, even if your cabinets are new and unfinished.
How To Varnish Kitchen Cabinets / Our Exciting Kitchen Makeover: Before and After | Kitchen ... / The process always starts out the same way, even if your cabinets are new and unfinished.. First, rub them down with a clean cloth and mild detergent, then follow up with plain water to eliminate soap residue. There's one situation when it's not necessary to spend time cleaning at the outset. See full list on bobvila.com See full list on wikihow.com Also, remember to cover any surfaces you don't want to strip (painter's tape is handy for the purpose).
Consider that polyurethane tends to accentuate any surface imperfections. See full list on bobvila.com Along the way, you may wish to repair any imperfections (cracks or scratches) that you notice in the wood. So long as you concentrate on keeping the application thin, the sealer isn't likely to pool or drip. After sanding, use a moistened cloth to remove all the dust, ensuring the cabinets are clean and dry.
Looking Up In a Down Economy: Custom Cupboards ... from ww1.prweb.com Then stand back and relish the upgrade you've given to your old cabinets, and how, in turn, their new look has imbued the rest of the room with a new and exciting character. See full list on bobvila.com Once you've coated every cabinet surface, wait for the stain to dry. Once the cabinets are dry, lightly scuff them with #000 steel wool. Apply second thin coat of varnish, try to smooth out any bubbles. I restore my bathroom finishes. You can lighten things up by rubbing off the excess stain with a fresh rag. Normally, stripper takes about a half hour to set in.
Remove the cabinet hardware(including the hinges) and set the doors aside.
Apply second thin coat of varnish, try to smooth out any bubbles. So long as you concentrate on keeping the application thin, the sealer isn't likely to pool or drip. See full list on bobvila.com See full list on wikihow.com During that time, be careful not to let dust or dirt land on the cabinets. If your cabinets aren't perfectly smooth, you may wish to sand them down again. First, rub them down with a clean cloth and mild detergent, then follow up with plain water to eliminate soap residue. Unlike paint, the appearance of any given stainpartly depends on the type of wood to which it's being applied. Applying the varnish on the wood is, in effect, sealing it with plastic. See full list on bobvila.com Unless your cabinets are raw wood, the existing finish must be removed before you can apply the new stain coat. Then stand back and relish the upgrade you've given to your old cabinets, and how, in turn, their new look has imbued the rest of the room with a new and exciting character. Remove the cabinet hardware(including the hinges) and set the doors aside.
Remove the cabinet hardware(including the hinges) and set the doors aside. That's if the existing cabinets are painted or stained and, rather than use a chemical stripper, you'd prefer to scrape and sand away the existing finish. The plastic is tough that creates an impenetrable barrier on the surface. See full list on bobvila.com Now it's time to apply the stain.
HGTV's Best Pictures of Kitchen Cabinet Color Ideas From ... from i.pinimg.com Assuming you like what you see, go ahead and apply the stain using either a paintbrush or a clean, soft rag. You can lighten things up by rubbing off the excess stain with a fresh rag. You can leave the cabinet frames in place, but take special care to protect the rest of the room with drop cloths or plastic sheeting. Reserve your judgment until the test stain has dried. That's if the existing cabinets are painted or stained and, rather than use a chemical stripper, you'd prefer to scrape and sand away the existing finish. Unless your cabinets are raw wood, the existing finish must be removed before you can apply the new stain coat. By the same token, if all the cabinet surfaces are flat, you can safely stick with a wider brush. Stripping products have improved over the years, but it remains important to pay close attention to any warnings included with your chosen product, be it a liquid or gel (view example on amazon).
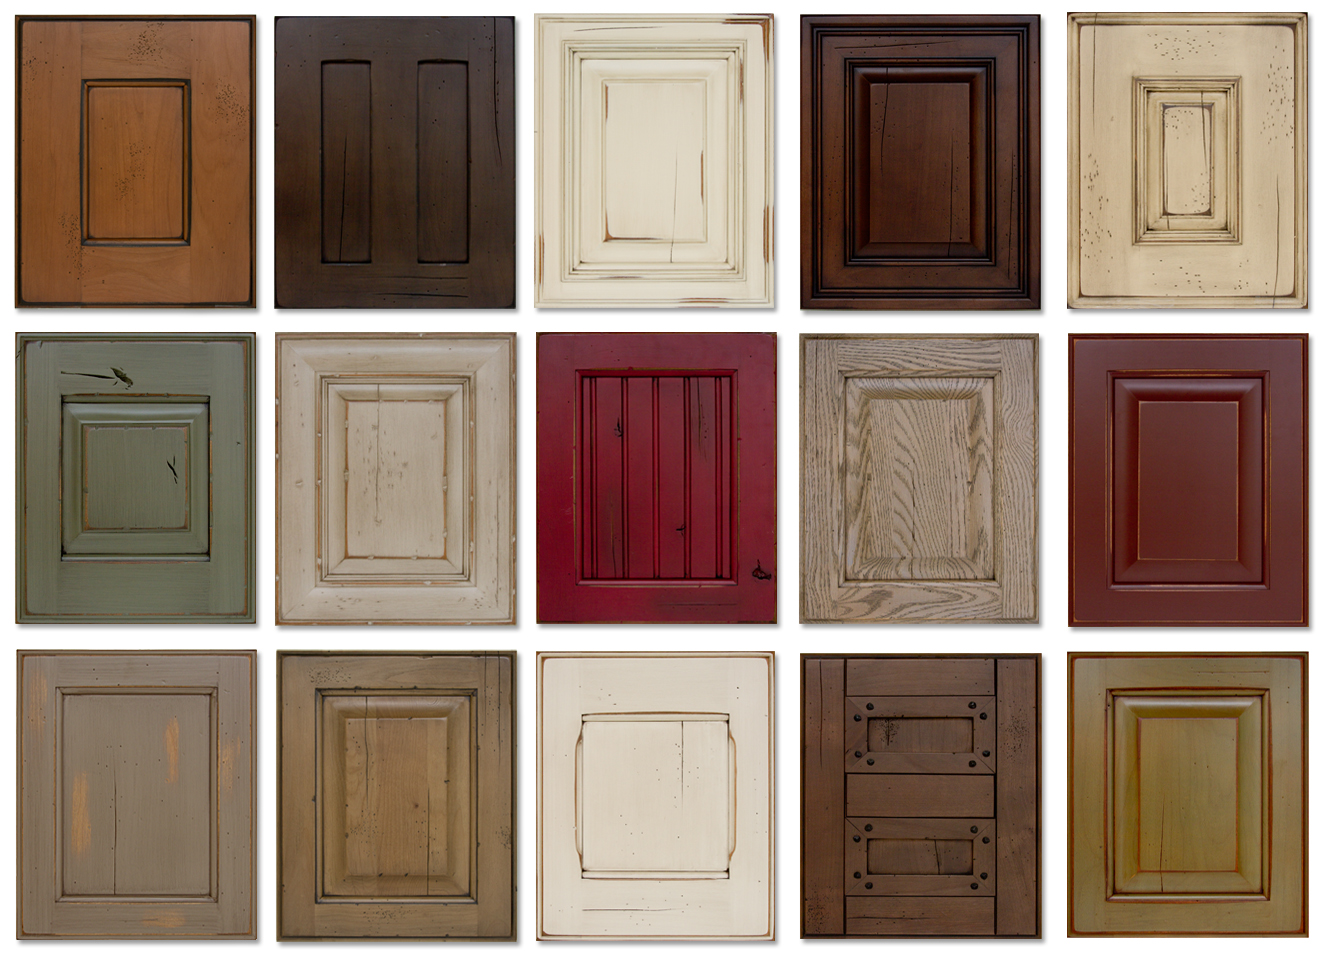
No matter the style of the cabinets, completely coat their surfaces with a thin layer of the conditioner.
You can lighten things up by rubbing off the excess stain with a fresh rag. Reserve your judgment until the test stain has dried. Normally, stripper takes about a half hour to set in. Stir the polyurethane and apply it in long, overlapping strokes. First, rub them down with a clean cloth and mild detergent, then follow up with plain water to eliminate soap residue. By the same token, if all the cabinet surfaces are flat, you can safely stick with a wider brush. They tend to create a glossier finish to the kitchen cabinet. See full list on bobvila.com There's one situation when it's not necessary to spend time cleaning at the outset. Wipe clean with dry cloth. If your cabinets aren't perfectly smooth, you may wish to sand them down again. Remove the cabinet hardware(including the hinges) and set the doors aside. So long as you concentrate on keeping the application thin, the sealer isn't likely to pool or drip.
During that time, be careful not to let dust or dirt land on the cabinets. There are two ways to go about it. Assuming you like what you see, go ahead and apply the stain using either a paintbrush or a clean, soft rag. Normally, stripper takes about a half hour to set in. Once the cabinets are dry, lightly scuff them with #000 steel wool.
Paint Your Kitchen Cabinets Without Sanding or Priming | DIY from hgtvhome.sndimg.com Consider that polyurethane tends to accentuate any surface imperfections. See full list on wikihow.com Wait for the sealer to cure—and while you're waiting, ta. See full list on bobvila.com The plastic is tough that creates an impenetrable barrier on the surface. Once the stain has fully cured, assess whether or not you need a second coat. Vacuum the sanding dust, and before you continue, wipe down the wood with a moistened cloth to pick up any lingering debris. You can leave the cabinet frames in place, but take special care to protect the rest of the room with drop cloths or plastic sheeting.
You can lighten things up by rubbing off the excess stain with a fresh rag.
You can leave the cabinet frames in place, but take special care to protect the rest of the room with drop cloths or plastic sheeting. Conditioning helps ensure that the stain adheres evenly and looks its best. The process always starts out the same way, even if your cabinets are new and unfinished. Normally, stripper takes about a half hour to set in. By the same token, if all the cabinet surfaces are flat, you can safely stick with a wider brush. Unless your cabinets are raw wood, the existing finish must be removed before you can apply the new stain coat. Once the stain has fully cured, assess whether or not you need a second coat. First, rub them down with a clean cloth and mild detergent, then follow up with plain water to eliminate soap residue. Then stand back and relish the upgrade you've given to your old cabinets, and how, in turn, their new look has imbued the rest of the room with a new and exciting character. If you opted for a traditional stain (view example on amazon), you don't strictly need to seal the cabinets, but considering the inevitable wear and tear, it's probably a good idea. Once you have prepared the work area, give the cabinets a thorough cleaning. Once the cabinets are dry, lightly scuff them with #000 steel wool. Remove the cabinet hardware(including the hinges) and set the doors aside.